Tuning In
Tuning in is where we find out our students' prior knowledge. What do they already know about the Central Idea and Lines of Inquiry? I try to mix it up a little bit every new unit, however, I am finding that my students this year are actually enjoying the routine of completing the same structured brainstorming activities for each unit, and I have seen an amazing improvement in the way they are expressing their ideas (unit 5). As the point of the Tuning In phase is to draw on prior knowledge and find out where you may need to address some misconceptions, this phase is 100% student ideas and contributions.
Finding Out
Here I usually provide students with the opportunity to research and gain knowledge of the Central Idea in a broader sense. If we are learning about space, they would end this phase with a good grasp of space in general. Stats on various planets, moon phases, constellations, explorers of space, technology in space, etc. If we are learning about Ancient Civilisations they would research about more than one Ancient Civilisation, and the details about each of them. Their tools, food, religions, myths, art, etc. I would provide some opportunity for choice to create an even wider scope across the classroom, but some topics would be more specific to know that they have understood the basics and have a solid understanding to build the rest of their knowledge on for the remainder of the unit. The areas we focus on would of course depend on the Central Idea and Lines of Inquiry.
Sorting Out
Students begin comparing different aspects which they have researched as well as their classmates. Usually there will be some element of choice while still being guided on other elements. For example, in our Ancient Civilisations unit, students were to compare different aspects of Egypt, Greece, India, and one other Ancient Civilisation of their choice.
Going Further
This is usually the point where I get my students to choose something they are interested in/still wondering about our Central Idea/Lines of Inquiry. Depending on the unit there may be specific requirements or apps for them to plan to use in their creations. Depending on what the Central Idea is focussing on, this may drive what they choose. For example, our Ancient Civilisations unit had a heavy focus on tools, so our Summative Assessment did as well.
Making Conclusions
In this phase my students use their personal research to create a project which will show their knowledge. Part way through the year I begin to challenge my students by asking them to use more than one app. Book Creator and Keynote are great for the integration of this. Students can insert movies from iMovie or Spark Video, music from GarageBand, collages from PicCollage, Timelines from TimeLine, etc. The projects developed at this stage then become incredibly creative and personal.
Taking Action
This phase is linked with the Making Conclusions phase. Here they may be presenting their projects and reflecting on their learning. This may look different for every student, or every unit, or every project. For me it depends on the time of year, as I give them less and less structure and more and more freedom with every unit. Unit 6 in my classroom I plan to let them choose any app(s) or platform they wish to show their knowledge their own way. Reflections should show their action. Did their thinking change? Did they do anything? Are they acting differently? Did they make something to show others?
My Reflection
I love using the inquiry cycle to help me plan activities and units. I feel that it has fostered an enormous amount of creativity in my classroom. Providing choice seems to be a common theme. Choice of what to research (once the foundations are laid), choice of apps, choice of content, choice of action, choice of reflection. The students take a great amount of ownership after making all of these personal decisions about their projects.
While each individual phase may not allow for a huge amount of creativity, as a whole, the inquiry cycle is a great scaffold to students' creativity and inquiry through a unit. What activities or apps would you add to these lists? I may add more photos or resources as I remember them.
6 Comments
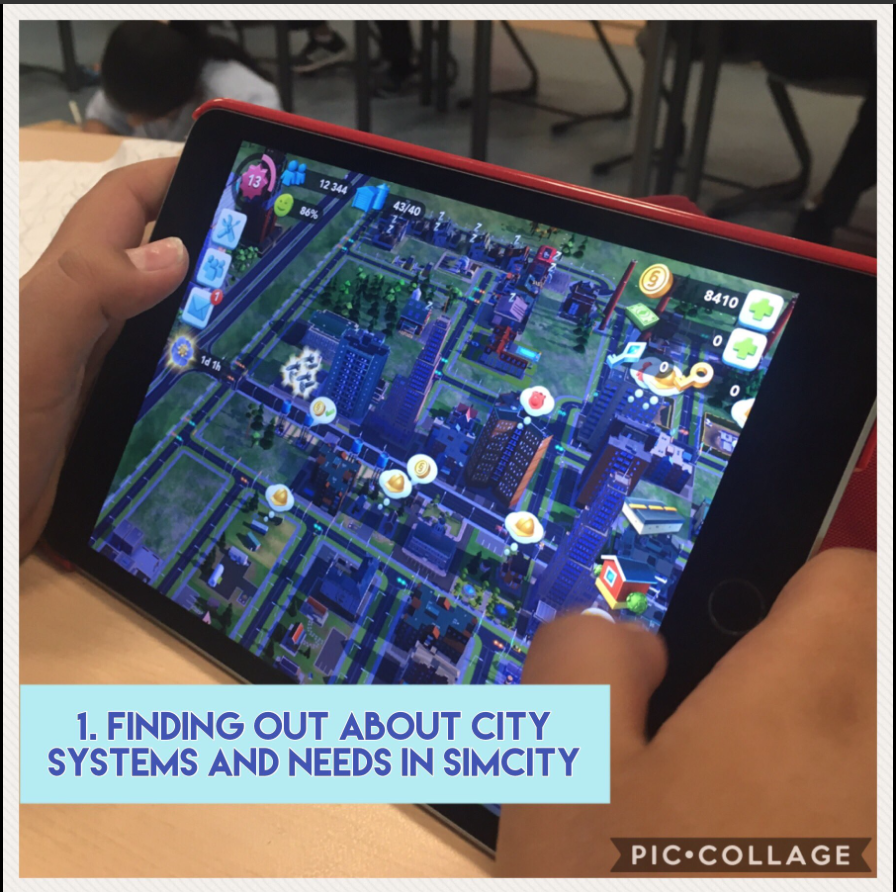
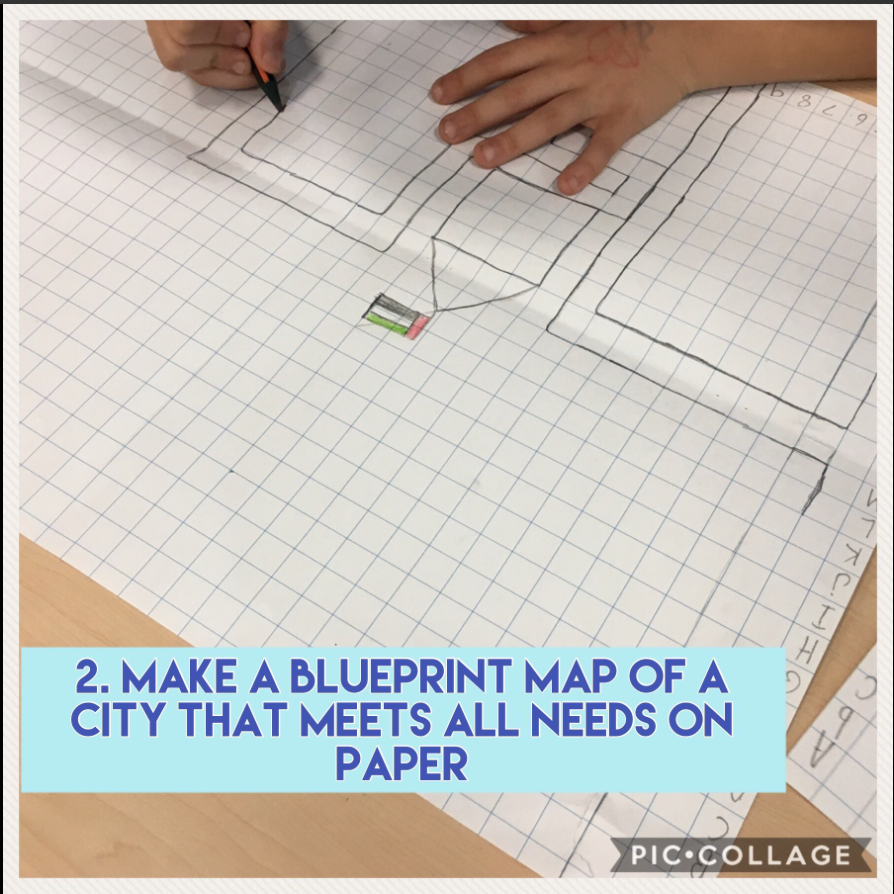
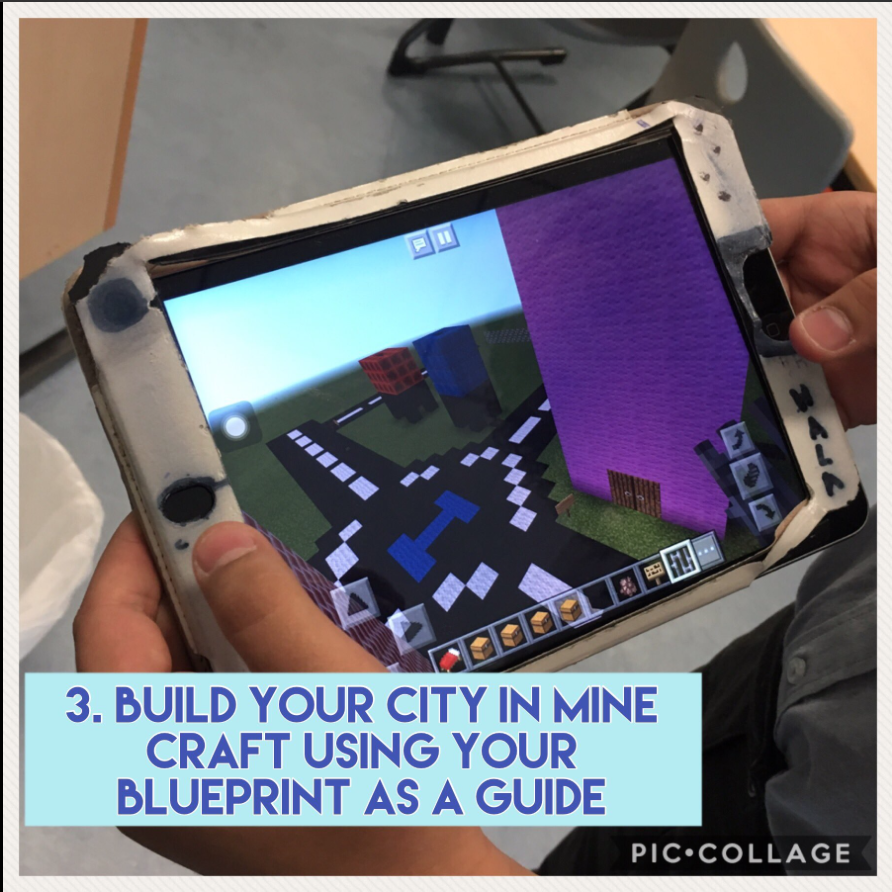
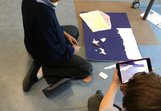
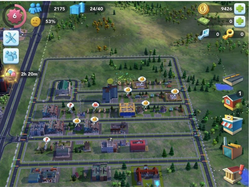 We are currently under the transdisciplinary theme "How We Organise Ourselves" and have the Central Idea of Citizens organise communities with systems to meet the needs of inhabitants. We are in the Finding Out stage of our inquiries. While parts of our days right now are spent researching about cities around the world and gaining knowledge about maps and mapping skills, we also have been spending one session a day with SimCity BuildIt. The app is structured in a way that they are slowly introduced to different systems a city (and its citizens) needs. It links so well to our Central Idea, I almost can't get over it! For example, the first thing they need is a road, then a house, and then very slowly things like power, water, garbage collection, fire department, hospitals, etc. etc. and as the needs of the citizens grows, their choices become a lot more difficult. There are many real-life factors in the game such as choosing how to spend your money, needing to use factories to create products to sell so that you actually have money, making choices related to the environment and the opinions of the Sims who live in their city, etc. It is interesting to see the different choices each student is making and why. 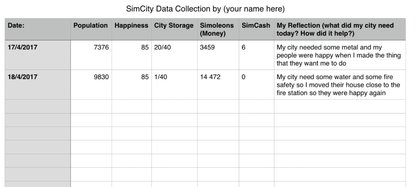 Each student also has a Numbers document where they need to record the data from the game. This includes things like the Sims happiness, how much money they have, population, and a personal reflection of what they did that day/how their thinking may have changed. 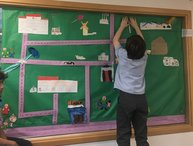 Our pre-assessment was creating a large map of a paper city on our class window. We try to add to it daily, and their knowledge from SimCity is really apparent. Adding a firehouse, roads to get to houses, factories, etc. We will continue this display throughout the 6 weeks of our unit. The plan is that after they have a good understanding of the needs of a city (and where things need to be positioned) they will plan (on paper) a 'perfect' city. Then they will build this perfect city in Minecraft. These apps are not only proving to be an engaging activity that the students enjoy, but also fantastic tools to aid inquiry and creativity. Update: After we found out about the systems needed in a city, we made a blueprint of a city on graph paper. Students needed to make sure that their city blueprint has everything needed in a city. When they began showing me because they were "done" I prompted them with questions like "What if my house is on fire?" or "Where will my garbage go?" "How does my house have power?" "Where will I buy my food?" When their blueprints were finished, they began building those cities in Minecraft. WOW to creativity!! They've really blown me away! Student ReviewWe used Stop motion in our unit Ancient Civilisations unit. We were supposed to write a myth, and then make it as a video. Stop Motion Studio made our project easier, simpler, and more fun! Stop Motion Studio is very simple and easy to use.
As H.K. said, we used Stop Motion Studio in our Ancient Civilisations unit of inquiry (Where We Are in Place and Time). Our literacy link was myths and legends, and after time spent writing their own myth, they finally got the opportunity to make their own story come to life. The action in the classroom was buzzing with creativity and excitement. They were SO into their stories and how they could portray their vision. Although the app easily allows for collaboration, they all took so much pride in their stories that they each made their own.
Teacher Tips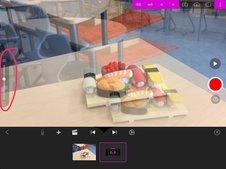
1. Use the translucent toggle on the lefthand side to create stability in your end product. The students are actually the ones who discovered this feature, and it is my favourite part about the app! Students who used this definitely had a smoother video at the end. Kids will be kids, and some videos were of course still a bit on the jumpy side (especially the first time they use the app). 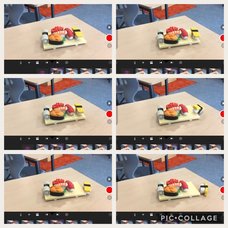
2. Take as many small movement photos as you can. This also creates a smoother, more stable video in the end. Students who took less photos could use the timer to slow down their video, but it slows down the WHOLE video, which in some places wasn't ideal. The more photos they take, the better. They can always be deleted! 
3. Practise reading your story out loud over top of the video. This was a good way to make sure their timing was right. Some students had to go off script from what they had written, which was fine in my eyes. It still told the same story. You can record sound over the video within the same app, which was easy and ideal. 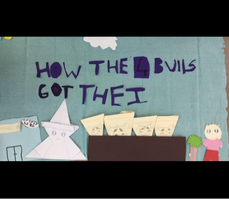
4. Start with a letter-by-letter title. Adding one letter at a time to the title is good practice for the skills they need to make their video.
Student Examples
My Reflection
Of course our videos are not perfect. Time constraints in the classroom, specialist lessons, and people finishing at different time are all partial factors of this we are used to as teachers today. However - they are completely student made. They take so much pride in their work because I didn't intervene in a way that disrupted their creativity or changed their way of presenting. Of course I probed with some questions to some students and we all shared our learning process when finding out new tricks inside the app, but other than that I just let them fly with it and learn for themselves. When they decide to use this app again for anything, they will have a great starting off point and create even better videos. As H.K. said in her app review, "Stop Motion Studio... The first step for creativity!"
As I am still at the beginning of my blogging journey, any feedback would be appreciated! Is it too long? Missing information? Do you still have questions? Please let me know! |
Cindy KaardalPassionate Educator and Innovation Coach. Archives
July 2024
Categories
All
|






 RSS Feed